Deep Pour vs. Tabletop Epoxy:
Pour Depth, Viscosity & Exotherm Rules
Published on August 26, 2026 • By MakerRatio Engineering Team • Tested on Live Wood Slabs
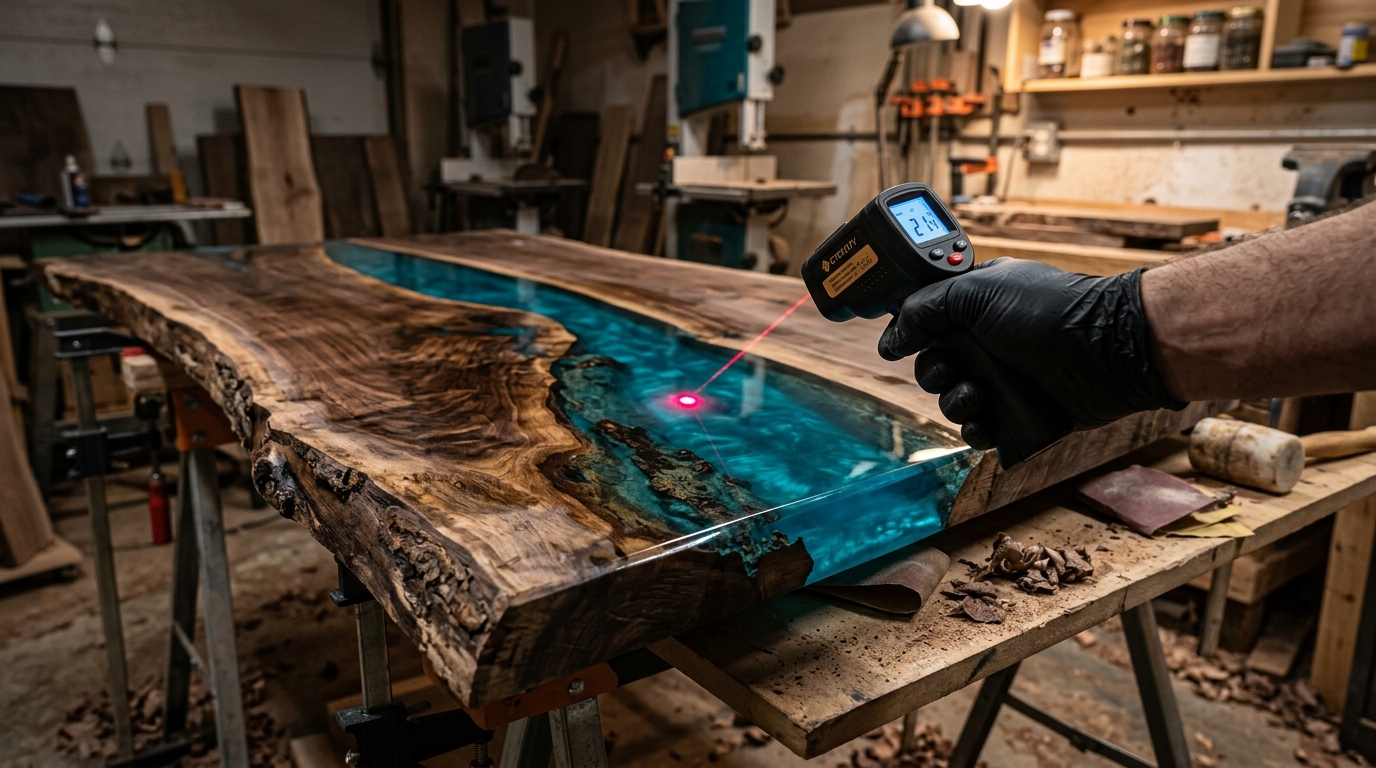
Studio Comparison: 2:1 Deep Pour (water-thin, slow exotherm) vs 1:1 Tabletop (high-viscosity, rapid surface cure).
What is the difference between deep pour and tabletop epoxy? Tabletop epoxy is a highly reactive 1:1 ratio resin designed strictly for thin flood coats up to 1/4 inch (6mm) depth, curing in 24 hours with high scratch resistance. Deep pour epoxy is a slow-reacting 2:1 or 3:1 ratio resin with ultra-low viscosity (200–600 cps) engineered for thick pours from 2 to 4 inches (5–10cm) in a single layer. Pouring 1:1 tabletop epoxy deep will cause a dangerous thermal runaway (exotherm boiling), resulting in smoke, yellow bubbling, and deep structural cracks.
Calculate River Table Void & Layer Volume
Enter your live-edge slab length, average gap width, and pour depth to calculate exact gallon volume, layer intervals, and thermal safety thresholds.
Every woodworker remembers the first time they watched $300 worth of epoxy turn into a boiling, smoking brick of plastic inside a live-edge walnut void.
You buy two gallons of standard 1:1 tabletop epoxy from your local hardware store because the label says "High Gloss, Crystal Clear, Rock Hard." You seal the mold form, pour the entire 2-inch river cavity in a single afternoon, and walk away feeling triumphant.
Forty-five minutes later, you return to the workshop to find a pungent chemical stench, temperatures radiating over 250°F (120°C), a surface covered in volcanic foam bubbles, and massive spiderweb fractures splitting the epoxy straight down the center.
The Workshop Golden Rule: Epoxy is an insulator. The heat generated during curing cannot escape through thick layers. Choosing the wrong resin formula is not a minor cosmetic mistake—it is a catastrophic thermal reaction.
Head-to-Head Technical Specification Matrix
Let's examine the raw polymer chemistry differences between 2:1 Deep Casting Resin and 1:1 Surface Coating Resin:
| Parameter | Deep Pour Casting Epoxy | Tabletop / Surface Epoxy |
|---|---|---|
| Standard Mix Ratio | 2:1 or 3:1 (by volume/weight) | 1:1 (by volume/weight) |
| Max Single Pour Depth | 2.0" to 4.0" (5cm - 10cm) | 1/8" to 1/4" (3mm - 6mm) |
| Viscosity at 77°F (25°C) | 200 – 600 cps (Water-thin) | 2,500 – 3,500 cps (Warm Honey) |
| Working Pot Life | 4 to 8 Hours (Extended flow window) | 25 to 40 Minutes (Rapid gel) |
| Peak Exotherm Temp | Controlled (< 135°F / 57°C) | Volatile in mass (> 280°F / 138°C) |
| Demold / Full Cure Time | 48 to 72 Hours (Slow lattice build) | 12 to 24 Hours (Fast surface snap) |
| Shore D Surface Hardness | 78D – 82D (Impact flexible) | 85D – 90D (High scratch barrier) |
The Physics of Exotherm: Why Mass Multiplies Heat
Epoxy cross-linking is an exothermic chemical reaction. As Part A and Part B molecules bond, they release thermal energy.
In a 1/8" tabletop coat, the surface area is massive compared to the thickness. The ambient air absorbs the heat instantly as it is generated, keeping the resin cool.
However, when poured into a 2-inch deep river cavity, the core epoxy acts as a thermal insulator. The heat produced at the bottom cannot escape into the air. Instead, it gets trapped, heating the surrounding resin. Because heat accelerates chemical reactions, the hotter resin reacts faster, which creates even more heat in an uncontrollable feedback loop known as Thermal Runaway:
- At 150°F (65°C): Microscopic moisture inside wood slabs boils, converting into thousands of cloudy steam bubbles.
- At 220°F (104°C): The epoxy matrix degrades, causing permanent amber/yellow discoloration.
- At 280°F (138°C): The core expands rapidly while the top cools, causing structural tension cracks that split the wood slab apart.
Maximum Pour Depth Guidelines by Ambient Room Temperature
The maximum safe depth of your pour depends directly on the temperature of your workshop. Use this empirical temperature guide:
Ideal for 2:1 deep casting. Extended cooling cycle prevents any exotherm spikes. Slowest cure (72h).
Manufacturer benchmark. Optimal balance between self-degassing bubble release and 48-hour demold timing.
High ambient heat accelerates exotherm. Must stage deep river tables in multiple shallow 1" layers.
How to Stage Deep Pours in Multiple Layers (Zero Witness Lines)
If your wood void is 4 inches deep and your workshop is warm, you must pour in two consecutive 2-inch layers. To prevent visible transition lines ("witness lines") between the layers, you have two bonding methods:
Method A: Chemical Cross-Link (The "Gel" Window)
Wait until Layer 1 reaches the "firm tacky gel" stage (usually 18–24 hours after pouring for 2:1 resin). It should feel like firm sticky tape, leaving no residue on your glove. Pour Layer 2 directly on top without sanding. The unreacted polymer chains on the surface will chemically cross-link across the boundary, creating a 100% seamless, invisible bond.
Method B: Mechanical Sanding (If Fully Cured)
If Layer 1 cured past 48 hours and is rock-hard, you cannot rely on chemical bonding. You must dry-sand the entire cured surface with 120-grit to 180-grit sandpaper to create micro-grooves. Wipe away all sanding dust with 99% isopropyl alcohol before pouring Layer 2. The fresh epoxy will fill the scratch pattern, rendering the sanding marks 100% optically invisible while providing maximum mechanical adhesion.
Verified Workshop Materials for Deep Pours
Never risk an expensive hardwood slab with unverified resin. These are our tested, Technical Data Sheet matched materials for river tables and deep voids:
Recommended Materials & Tools for this Project
LET'S RESIN 2:1 Deep Pour Epoxy Kit
Formula: 2:1 mix ratio by volume/weight. Formulated for deep single pours up to 2–4 inches per layer with low viscosity self-degassing.
High-Gloss Sheathing Mold Release Tape
Specification: Heavy-duty polypropylene barrier tape. Prevents epoxy adhesion when building custom melamine river table mold forms.
Transparency Notice: As an Amazon Associate, MakerRatio earns from qualifying purchases at zero extra cost to you. Product recommendations are selected based on verified Manufacturer Technical Data Sheets (TDS). Always consult chemical safety data before pouring.
Frequently Asked Questions About Deep Pour vs Tabletop Epoxy
Can I use deep pour epoxy as a tabletop flood coat?
Technically yes, but it is impractical. Deep pour epoxy has an ultra-low viscosity (water-thin) that causes it to run off flat edges rather than holding a thick 1/8" self-leveling dome. Furthermore, because it requires mass to generate curing heat, a thin flood coat of deep pour resin can take 5–7 days to harden. Always use 1:1 tabletop epoxy for surface flood coats.
Can I pour tabletop epoxy in thin 1/4" layers to fill a 2-inch river table?
Yes, but it is highly labor-intensive and risky. You would have to pour 8 separate 1/4" layers over 4 days, timing each pour precisely or sanding between each layer. If one layer overheats, it can ruin the entire table. Using a dedicated 2:1 deep pour resin allows you to pour the entire 2" void in a single, stress-free session.
How do I know if my deep pour resin is overheating?
Use an infrared non-contact laser thermometer to measure the core temperature at the 2-hour mark. If the core temperature stays below 135°F (57°C), the reaction is stable. If the temperature exceeds 165°F (74°C) and you see smoke or rapid churning bubbles, place high-velocity fans blowing directly across the surface to dissipate heat immediately.
Why is deep pour epoxy more expensive than tabletop epoxy?
Deep pour resins utilize advanced modified polyetheramine and cycloaliphatic hardeners with specialized air-release additives and UV optical brighteners. These raw chemical monomers cost significantly more to manufacture than standard polyamidoamine hardeners used in 1:1 surface resins.
Calculate Your Exact Slab Pour Volume
Prevent under-filling and thermal runaway with MakerRatio's live mathematical river table estimator.